|
|
Content of documentation | User documentation | Administrator documentation | Index of terms | Technical Support | Search on-line |
| VoiceChange Installation |
This document describes installation of VoiceChange Server. But first read document Before installation.
Launch SETUP.EXE program from the root directory of the installation CD. Select VoiceChange Setup in menu and then select Server setup option.
The whole installation is driven by wizard which asks for certain informations and controls installation according answers.
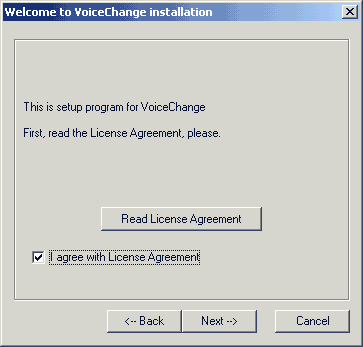 This is first installation screen. Read the Licence Agreement, please. If you
agree with the Licence, check checkbox and press Next. Other two dialogs offer
to read setup documentation.
This is first installation screen. Read the Licence Agreement, please. If you
agree with the Licence, check checkbox and press Next. Other two dialogs offer
to read setup documentation.
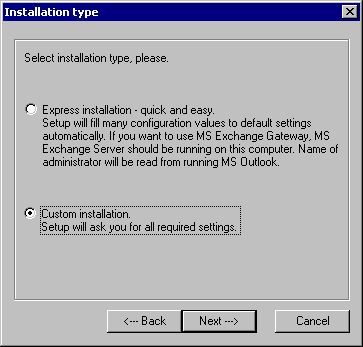 Select type of installation:
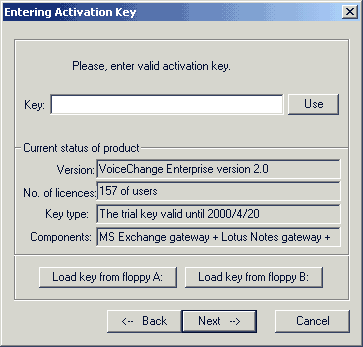 You are asked to enter key for VoiceChange activation. The key consists of four groups
of letters and numbers and it contains a coded VoiceChange version, number
of users, time limit and available
components. Enter the key into the "Key" field and press the "Use" button. If
you used a correct key type it will be displayed in
the "Current status of product" field.
You are asked to enter key for VoiceChange activation. The key consists of four groups
of letters and numbers and it contains a coded VoiceChange version, number
of users, time limit and available
components. Enter the key into the "Key" field and press the "Use" button. If
you used a correct key type it will be displayed in
the "Current status of product" field.
If you encounter a message "The key is invalid", check if you haven't interchanged
simmilar characters, so as "l" and "1", "o" and "0" and so on.
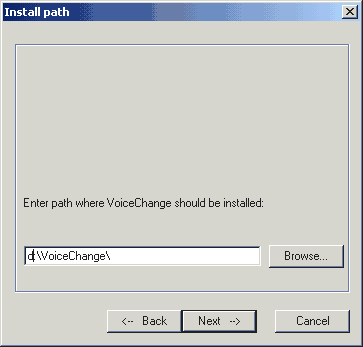 Here enter path where VoiceChange will be installed. It should
had at least 150 MB of free disk space and must not contain space in the name.
Here enter path where VoiceChange will be installed. It should
had at least 150 MB of free disk space and must not contain space in the name.
If you're going to use gateway other than Lotus Notes, remember two facts:
Lotus Notes users can install VoiceChange to both FAT or NTFS partition, because voice
archive is stored into Notes database with using Notes security.
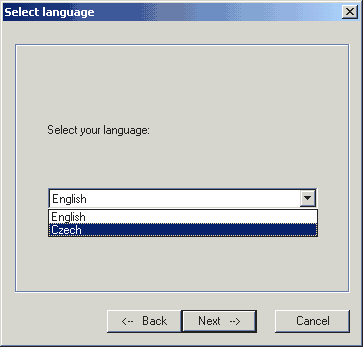 Default Voicechange language. Applications can switch to another language if necessary.
Now are supported:
Default Voicechange language. Applications can switch to another language if necessary.
Now are supported:
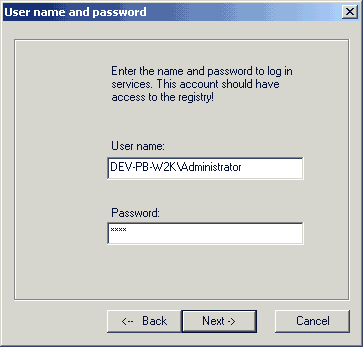 Enter Windows account and password for VoiceChange services.
This account must be a member of Administrators group and (if you're using MS Exchange gateway) must have administrative rights to the Exchange server.
Account can be entered as local in form <servername\account> or as domain in <domain\account> form. We recommend you to always enter account name in domain form. It is important when installing VoiceChange with Exchange gateway on the standalone server.
If password is incorrect, setup warns you.
Select gateway type. Next tasks are different, based on gateway you're going to use.
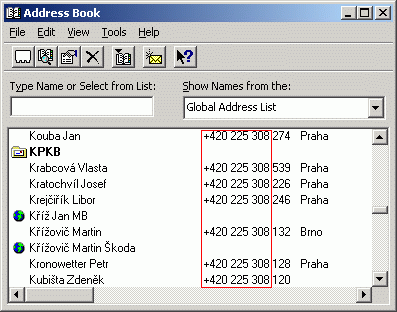 Every user must have filled phone number in his properties for correct function of Voicechange.
There are many users and all of them have phone numbers in form "+420 225 308 xxx". Therefore
"+420 225 308 " is common part of phone number and next three digits is extension number.
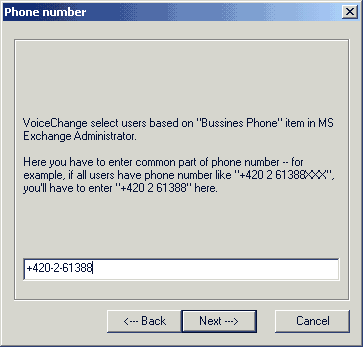 Here enter "common part" of phone numbers in you company.
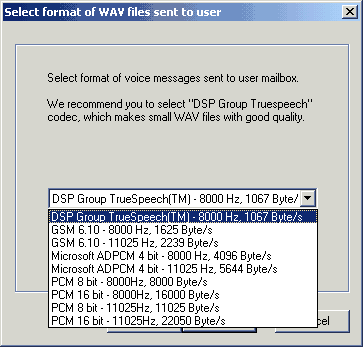 Now select format of WAV file to be sent to users via e-mail. You can choose from more formats.
Best compression (with less Byte/sec value) means lower quality and vice versa.
Now select format of WAV file to be sent to users via e-mail. You can choose from more formats.
Best compression (with less Byte/sec value) means lower quality and vice versa.
Compression "DSP Group Truespeech(TM) - 8000 Hz, 1067 Byte/sec" is sufficient for many installations. If your users use older sound cards, select format with sample frequency 11025 Hz. It is valid also for format of WAVs stored in archive.
In next dialog select WAV format for messages stored in server archive. You can choose from
the same formats.
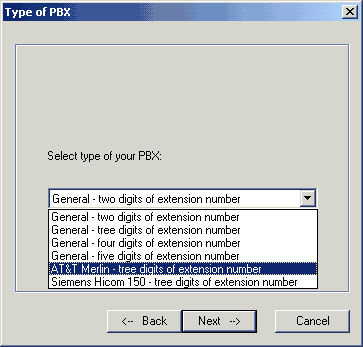 Select your PBX type. According selection will be PABX data analyzed by Voicechange.
If your PBX is not listed here, select "General" with correct extension length or
contact Datasys Support.
Select your PBX type. According selection will be PABX data analyzed by Voicechange.
If your PBX is not listed here, select "General" with correct extension length or
contact Datasys Support.
 Select type of your voice device.
Next tasks are different, based on voice hardware you're going to use.
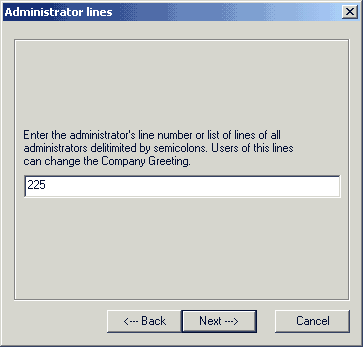 Enter phone extension number for all VoiceChange administrators. Separate
numbers by semicolon (without spaces).
Enter phone extension number for all VoiceChange administrators. Separate
numbers by semicolon (without spaces).
VoiceChange administrators will be allowed to change Company Greeting.
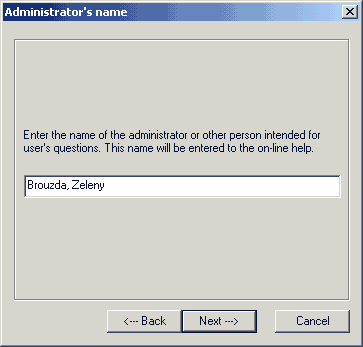 Enter names of VoiceChange administrators. This text will be placed into
help distributed to VoiceChange users.
Enter names of VoiceChange administrators. This text will be placed into
help distributed to VoiceChange users.
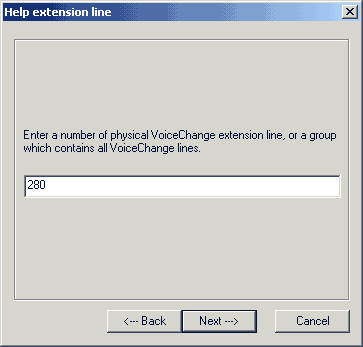 Enter physical extension number of VoiceChange line. This text will be placed into
help distributed to VoiceChange users as VoiceChange "central acces number".
Enter physical extension number of VoiceChange line. This text will be placed into
help distributed to VoiceChange users as VoiceChange "central acces number".
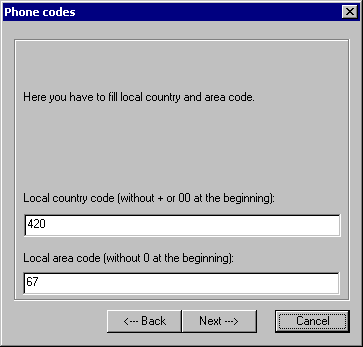 Enter country and area codes of your city without leading zeroes.
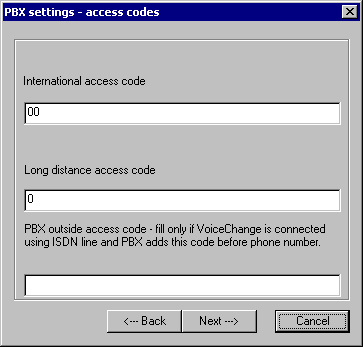 Enter prefixes for dialing international and long distance calls. If you are connected using
ISDN and your PBX adds some additional number into caller identification for incoming calls
(usually zero), enter this number into last field.
Enter prefixes for dialing international and long distance calls. If you are connected using
ISDN and your PBX adds some additional number into caller identification for incoming calls
(usually zero), enter this number into last field.
 Enter default password for voice boxes. This password is valid for first access to voicebox
during which user must change it. If you enter empty password, 111 will be used.
For Lotus Notes gateway this dialog doesn't appear and password will be set to 1234.
Enter default password for voice boxes. This password is valid for first access to voicebox
during which user must change it. If you enter empty password, 111 will be used.
For Lotus Notes gateway this dialog doesn't appear and password will be set to 1234.
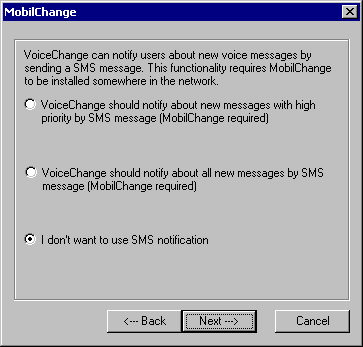 Voicechange can notify you about new voice messages or messages with high priority using
SMS, if you have Mobilchange installed. In such case enter also Mobilchange server name.
Voicechange can notify you about new voice messages or messages with high priority using
SMS, if you have Mobilchange installed. In such case enter also Mobilchange server name.
 Now you can register your installation and files will be copied to the disk.
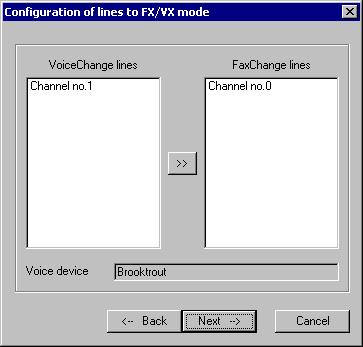
If you are using Brooktrout or Dialogic card you can assign some channels for Faxchange
(if it is installed together with Voicechange on the same server).
Now you can register your installation and files will be copied to the disk.
If you are using Brooktrout or Dialogic card you can assign some channels for Faxchange
(if it is installed together with Voicechange on the same server).
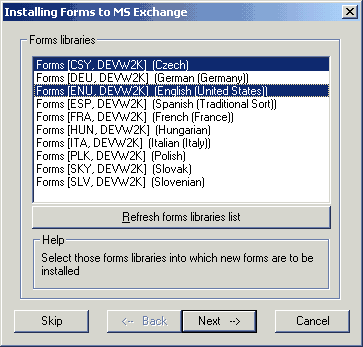 Following dialog displays only for Exchange gateway. Select one or more libraries, where VoiceChange forms
will be installed. We recommend you to install forms into all libraries, which are "homed" at your server.
Following dialog displays only for Exchange gateway. Select one or more libraries, where VoiceChange forms
will be installed. We recommend you to install forms into all libraries, which are "homed" at your server.
If no library exists, installer tries to create libraries for you. How to create form library manualy you can read
in chapter about preparation for installation.
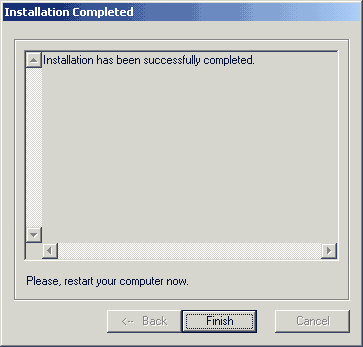 End of installation. If there was any problem during the installation,
errors will be displayed here in summary.
End of installation. If there was any problem during the installation,
errors will be displayed here in summary.