|
|
Table of contents | User documentation | Administrator documentation | Documentation for developers | Technical support | Search on-line |
| Standard client |
This document guides you through Callchange standard client installation (basic client (L1) + Call Resolution client (L2) for Callchange Standard edition). But please first read document Before installation.
Installation is started by autorun.exe program in the root folder of installation CD. Select CallChange
product in the menu and Callchange Client [Run setup] in next dialog.
You MUST be loggeg in as administrator of PC, where client is to be installed, otherwise setup doesn't work correctly.
Administrative rights are necessary for COM objects registration and writing into registry.
You can also perform installation remotely by UMS Remote Installer tool.
Installation is as simple as possible (client discovers nearly all parameters from Callchange server)
and it is guided by setup wizard, which helps you to smooth passing whole procedure so setup will be finished
successfully and Callchange will work corectly.
When setup is started (by Autorun or \CallChange\Client\setup\setup.exe program), setup engine is copied
to your harddrive and restart can be acquired -- in that case restart the server and start setup again. Then first
wizard's dialog appears.
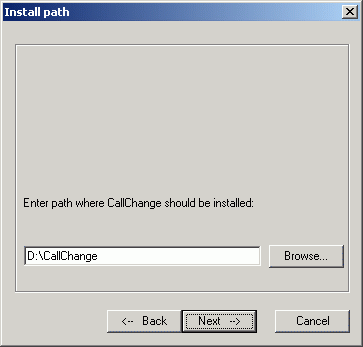
| Select folder, where Callchange client will be installed into. |
|
|
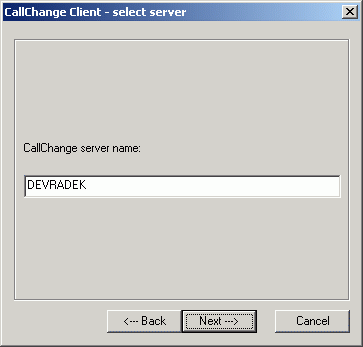
| Enter name of Callchange server. This server will be queried for client configuration. |
|
|
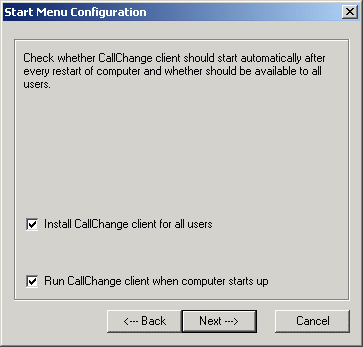
| Select if client will be accessible for all users through the Start menu and if client should be started automatically when user logs on. If first option isn't checked, client is installed only for just logged in user. |
|
|
|
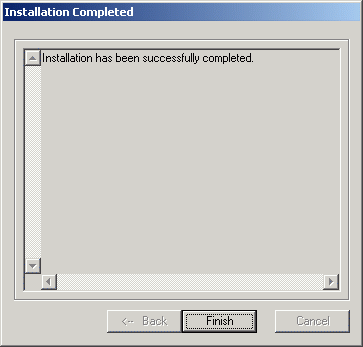
Now client installation is done - copying of files, component registration etc.
Finally, window with list of setup errors is displayed; if all is done without problems and no error occured,
windows looks like this: |
|