

|
Content | User documentation | Administrator documentation | Index of terms | Technical Support | Search on-line |
| Fax Merge - Usage of MS Word macros |
This document will show you how to use FaxMerge macros for Microsoft Word distributed with FaxChange.
Contents
You can use FaxMerge from any application that can write into Registry.
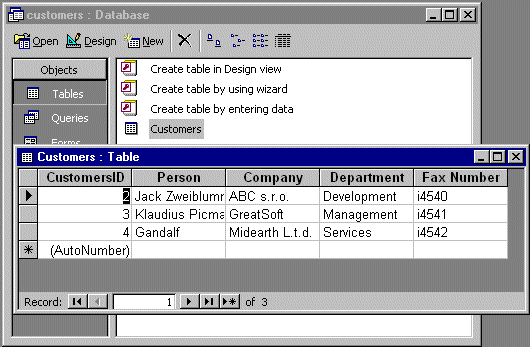
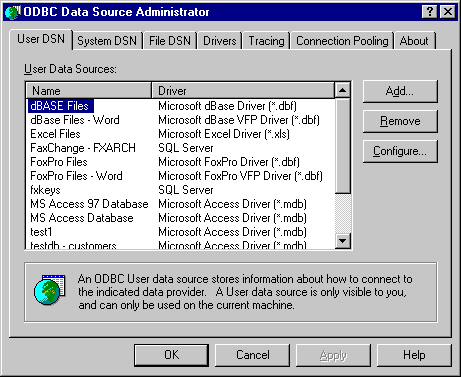
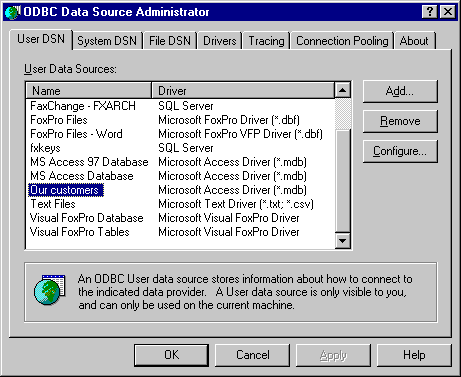
Create an ODBC datasource for your database. Run Start -> Settings -> Control Panel, select ODBC data sources:
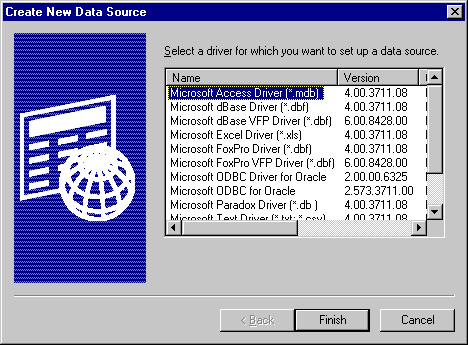
Click "Add..." and select an ODBC provider for your database. Our database was created in Microsoft Access - so we will use it.
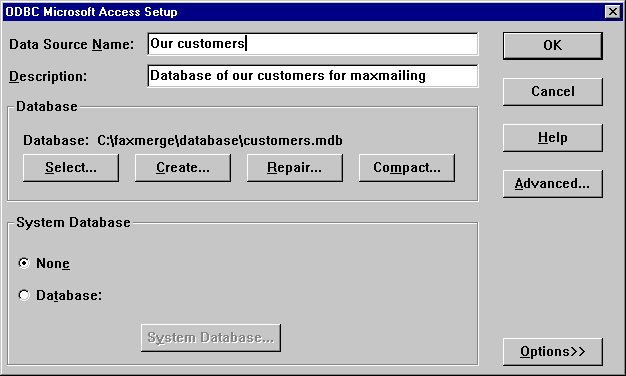
You will be asked for more information about your database. Enter ODBC datasource name, database description. Then click "Select..." and select your database file.
Click on "OK" after all information are entered. New datasource will be shown in list of user datasources:
Copy faxmerge.doc and faxmerge.dll
into empty directory.
Run regsvr32 faxmerge.dll so FaxMerge COM object will be registered within your system.
Check registry item HKEY_LOCAL_MACHINE\SOFTWARE\Datasys\FaxChange\Client\FaxMerge.
If it contain value "4.1" or higher, all is OK. If there is no such item or the value is lower
than 4.1, you should to upgrade FaxChange Client Printer to a newer version.
faxmerge.doc. Microsoft Word will be started.
Modify document as you wish.
You can create bookmarks in your document and they will be substitued by values from database when FaxMerge will be running.
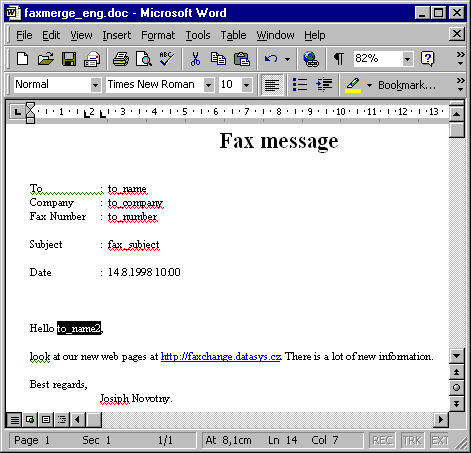
Mark a text, then select Insert -> Bookmark.... Bookmark dialog will be displayed.
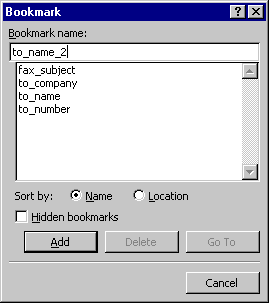
Enter a name for that bookmark. Every bookmark should have unique name. If you want (for example) to enter recipient's name twice, create bookmarks "recipient1" and "recipient2" and so on.
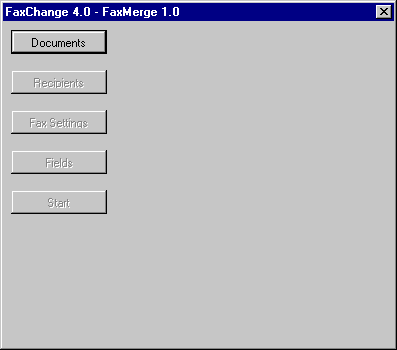
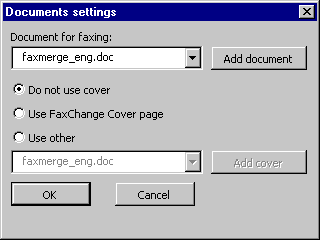
Click on Documents. Select document to be sent. If you want to use FaxChange coversheet, you can set it. We recommend not to use it -- create coversheet right in Word document instead. Press OK.
Click on Recipients. Select your ODBC data source:
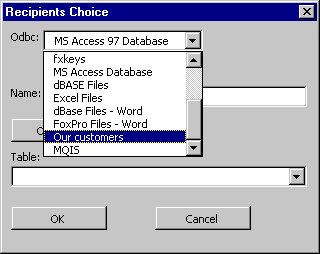
Fill user name and password if required. If you're using Microsoft Access database, user name and password is not used.
Click Open Database button. Listbox Table will be filled with a names of tables in your database.
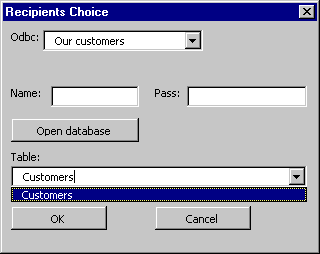
Select the table you want to use and press OK.
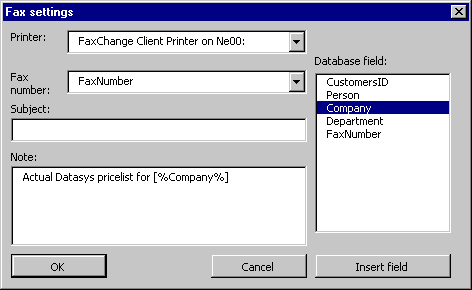
Click on Fax Settings. Dialog will be shown:
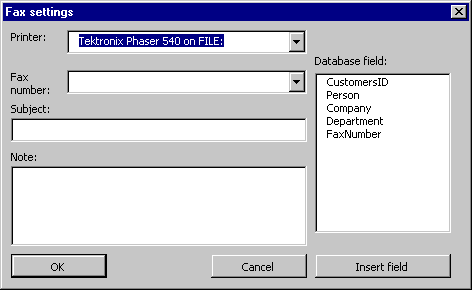
Set Printer item to FaxChange printer you want to use. Set Fax Number item to database field containing recipient's fax number.
You can create a note that will be prefixed before your Word document and if you're using FaxChange coversheet, you can modify subject that will be shown on coversheets. You can enter any of database fields in that items - select field in a list of fields and press Insert field. Field will be inserted into subject or note.
Press OK. In main menu, click on Fields. All bookmarks in document and all database fields will be displayed.
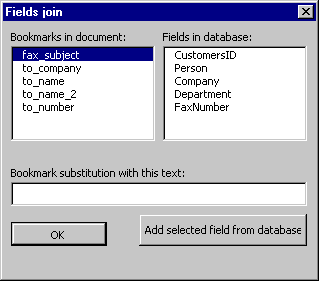
Select bookmark. Then enter text the bookmark will be substitued with. If you want to insert database field, click on field name and then click Add selected field from database.
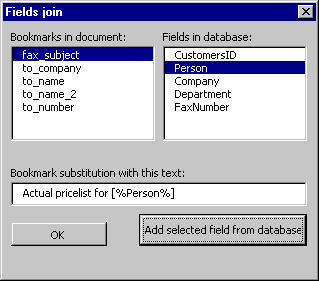
Create a substitution for all bookmarks and then press OK.
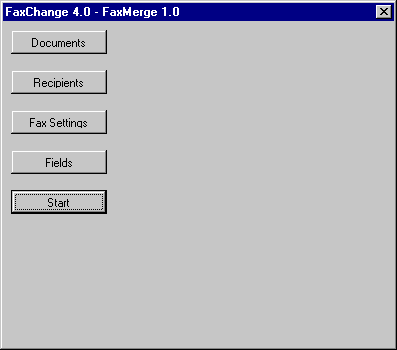
All information has been entered - you can start FaxMerge by clicking on Start.
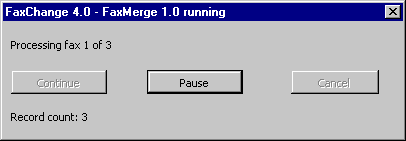
You can see the progress of FaxMerge task - number of proceed recipients and total number of database records. You can pause FaxMerge process and (if paused) stop it.
